Hard cider is an alcoholic beverage created from the fermentation of fruit juice, most commonly apple juice. This drink’s name includes the word “hard” to differentiate it from its non-alcoholic equivalent, apple cider, which is created by pounding apples to extract the juice.
Here’s something to think about:
In many regions of Europe and America, hard cider is simply referred to as “cider,” even though the term “cider” originally referred to an alcoholic beverage.
As a result of using the term “cider” to identify freshly pressed apple juice, the term “hard cider” was coined by some to emphasize the contrast between the two beverages.
Is hard cider an alcoholic beverage?
Yes, hard cider is alcoholic, and however, the amount varies depending on the type and cidery. Most hard ciders have an alcohol by volume (ABV) of 4.5 to 7% on average, with some ciders reaching as high as 10% or 12%. Because the yeast consumes most of the natural sugars in the cider, drier ciders usually have a higher ABV.
In this article, we’ll discuss everything you need to know on how to make hard cider, such as;
- What exactly is cider?
- The ingredients you’ll need to make your dish;
- The steps you can follow in cider making and in making your own hard cider;
- The homemade hard apple cider recipe we usually use;
- Some helpful hints for making cider to make it the ideal and tastiest Hard Cider:
- And there’s a lot more!
In the same way that the craft breweries business has flourished in recent decades…
….craft cider is experiencing a comparable boom.
If you’re searching for something to do with all of your free time, consider learning how to make hard cider.
It can take a long for things to ferment, but what else are you doing right now? Learn sweet cider-making by reading on.
Do you want to make your own delicious hard cider?
You’ve come to the right spot!
Learn how to brew hard cider at home by following this basic step-by-step guide using the presented hard cider recipe. It’s a lot less tough than you think!
Step By Step Guide: How To Make Hard Cider
Step 1: Choose your ingredients
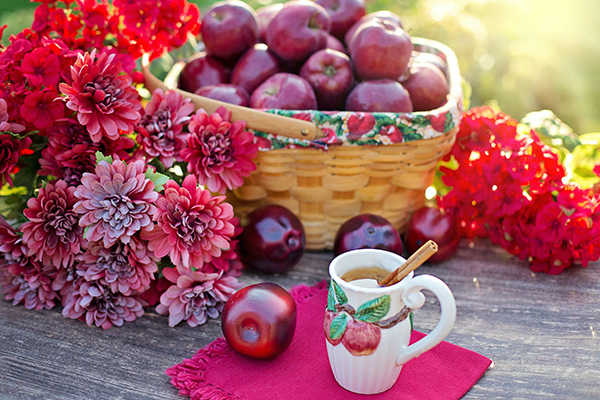
Most of the hard cider ingredients or homemade hard apple cider recipe, with the exception of the raw cider, may be acquired at a local homebrew store for making hard apple cider. They’re also available on Amazon and other homebrew retailers.
Preservative-free, sweet apple cider, preferably unpasteurized
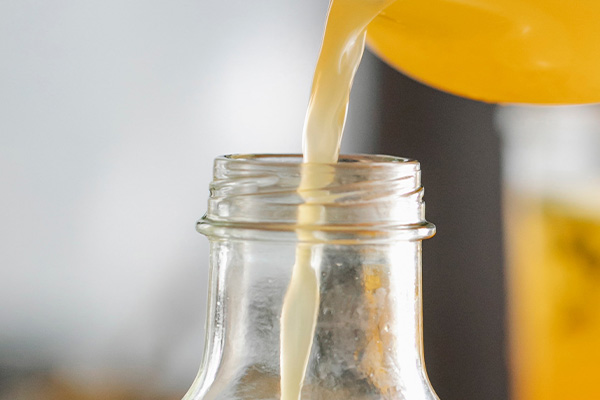
It’s entirely up to you whether you buy fresh-pressed apple juice with no preservatives from your local orchard, or core and peel your own fruit, or buy store-bought apple juice. If you’re using fresh juice, make sure to test it and treat it if it’s not pasteurized. If you’re using fresh apples or any possible fruit or unfermented juice, clean the apples (or any suitable fruit) and crush and press them properly with a fruit presser.
Remember!
The quality of your fruit, like wine, will affect the quality of your final product. However, it is often not seasonally accessible or economical, which is perfectly fine; you can still prepare a delicious hard cider!
Wine Yeast (Red Star Cote des Blancs are good choices) (not bread yeast)
Making hard cider necessitates the use of yeast. Adding yeast to your juice is crucial since it initiates the fermentation process. A white wine yeast or champagne yeast strand is usually used in hard cider since it is a robust agent that also helps preserve the apple characteristics.
Other yeasts, such as Nottingham ale yeast and mead yeast, can be used. Yeast can be obtained online or from specific brewing supply retailers.
Yeast Nutrient (optional)
Yeast cannot survive solely on sugar; it requires a variety of additional nutrients. Diammonium phosphates (DAP), amino acids, vitamins, zinc, and yeast hulls are examples of yeast nutrients.
These provide nitrogen and phosphate to the yeast cells, which they require.
The concern is…
If you’re unsure about incorporating this in your batch, keep in mind that the more ‘strange’ the yeast and the greater the alcohol content, the more support the yeast will require.
Add it simultaneously as the yeast (before fermentation) if you use it.
Brown Sugar or Cane Sugar (Optional for higher alcohol content)
When yeast is added to your drink, it consumes the sugars and converts them to alcohol. As a result, the higher the initial sugar content of your brew, the higher the alcohol percentage.
Yes, you read it right!
Isn’t sugar just that? Well, sort of.
Sugar does not sweeten hard cider, as you learned in the process of making hard cider. The alcohol amount and carbonation level are controlled by brown sugar.
Preservative-free, Pasteurized Apple Juice (for Creating a starter, which is optional)
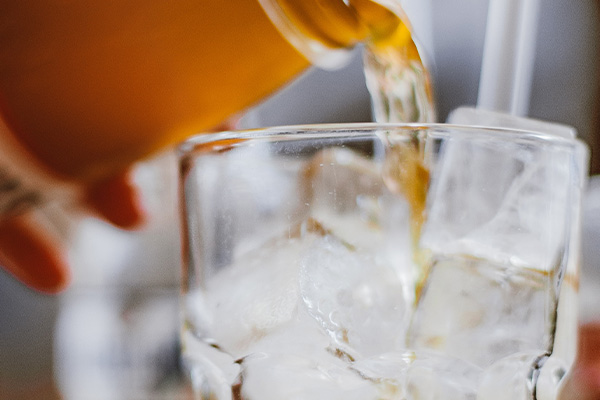
If you use pasteurized juice, you can eliminate the Camden, and pasteurization will have destroyed the wild yeast. Wild yeasts and bacteria can create numerous difficulties, ranging from a slightly medicinal flavor to converting your entire batch into vinegar.
Campden Tablets (optional)
You must use Campden tablets or another kind of sulfite, such as sodium metabisulfite. Otherwise, the cider may rot or turn to vinegar in the long run.
If you’re creating cider from fresh fruit, we recommend that you add one Campden pill per gallon before the fermentation.
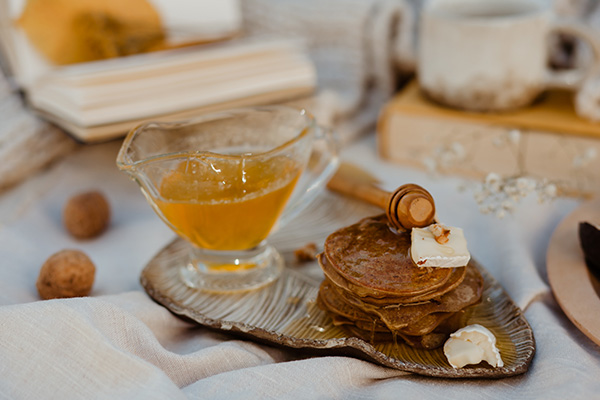
Honey (for Sparkling Cider)
After knowing the homemade hard cider recipe, let’s proceed to the next stage of our cider making – the Steps to follow.
Step 2: Sanitize your supplies
It’s essential to thoroughly clean and sterilize your brewing equipment to ensure that your apple juice isn’t tainted by smelly bacteria or mold.
The first step is to clean and sterilize your fermenter and everything else that comes into contact with your chilled must.
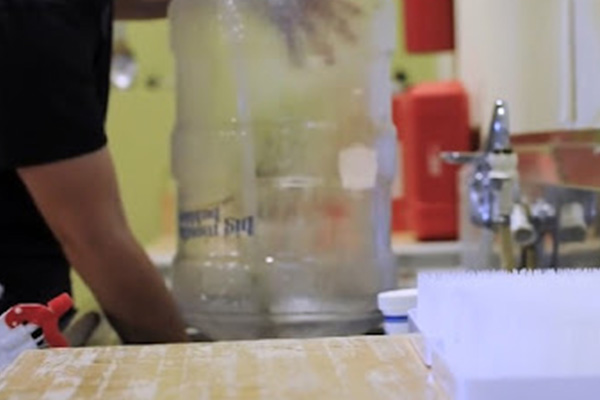
Start by cleaning your brewing equipment with a brewing cleanser like Five Star’s PBW.
It’s time to sanitize your equipment after it’s been cleaned.
Using a no-rinse, food-safe sanitizer like Star-San is the simplest way to sterilize equipment. Simply combine one fluid ounce with five gallons of water and soak your equipment.
The benefit of using this sanitizer is that it does not require rinsing.
Fast and easy!
Use Star-San on everything that will come into contact with your cider, including the carboy, utensils, siphon, and so on. Do not pour the Star-San solution down the drain just yet! It is effective for around 30 days after mixing.
Step 3: Make a starter the day before
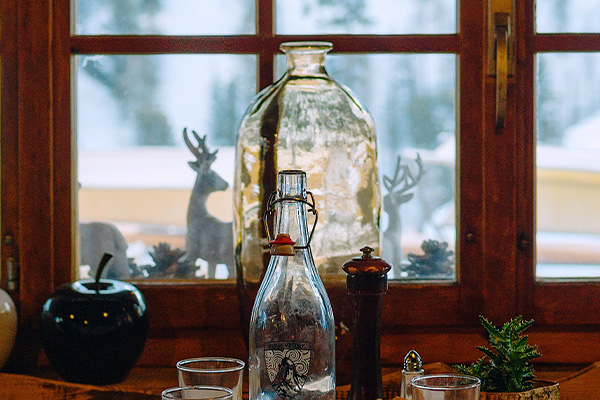
Make a starter the day before you plan to brew your cider. This process is optional, but it assures that your yeast is secured (alive) and will immediately begin fermenting cider.
With this in mind…
Take the lid of apple juice and pour out a few ounces to make a starter. Fill the bottle with the contents of one yeast packet, close the lid, and shake it for a few seconds.
You should see some bubbling within the bottle after five or six hours.
Once you’ve done that…
Re-seal the bottle and place it in the refrigerator after releasing its pressure. Get it out a few hours before you want to brew.
Step 4: Brewing with Heat
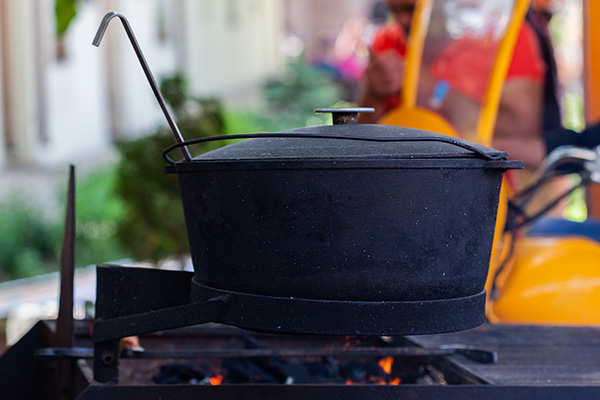
Know the pros and cons of heat brewing
The safest and most popular way for brewing hard apple cider is to use heat. The heating approach is the safest to employ when starting with unpasteurized juice from an unknown source or juice from defective apples.
However…
Heat reduces the cider’s fragrance. A hazy cider is also more likely to result from the heat.
Remember:
It’s crucial to have good temperature control to make world-class beer at home. Your homebrew will improve quality and consistency if you can reliably keep yeast within its proper temperature range.
Keep the heat on!
Pour your juice into a large saucepan.
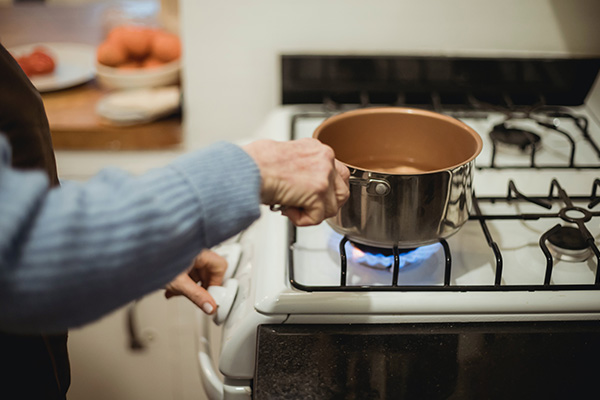
Place the cider or your hard apple cider saucepan on the burner and heat medium heat.
A quick reminder!
Don’t allow the juice to boil.
Yes! You read correctly!
The pectins in apple juice or apple cider will be set at the high temperatures required for boiling.
As a result of this…
You’ll get a cloudier cider as an outcome.
Also, using a food-grade thermometer that clamps to the edge of your pot, keep an eye on the juice’s temperature.
And, finally…
Take the temperature of the liquid using your thermometer, not the temperature of the pan’s side or bottom.
Need Help In Finding The Best Thermometer For Home Brewing?
Click the button below for our detailed buyer’s guide.
Heat the juice to 165 degrees Fahrenheit.
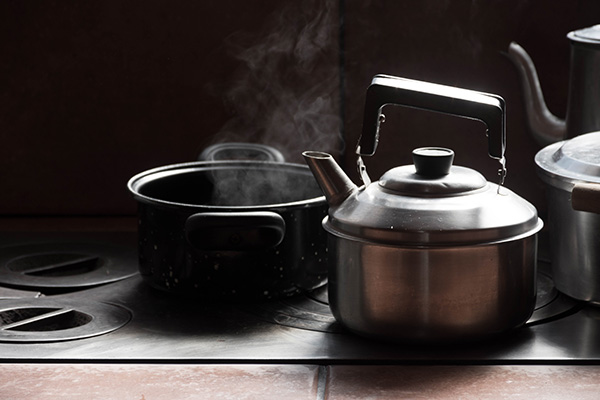
Cover the saucepan with a lid and settle for 10 minutes when the juice or hard apple cider reaches this temperature. Check the juice often through the cover to make sure it hasn’t begun to boil.
Cool the juice in an ice bath
Fill a big tub or container halfway with ice and cold water. To quickly reduce the temperature, submerge the covered pot in ice water.
With this…
Once your juice hits 70 degrees Fahrenheit, it’s ready for the following step.
(Alternative) Step 4: Brewing with Sulfites
Sulfites are sulfur compounds found in grapes and hops, utilized to make wine and beer. They stop the germs from growing, which causes the drink to fog up, and turn the alcohol into vinegar.
Take note:
Extra sulfites are added to most wines and beers, and some people believe that this might cause headaches.
Understand when and why to use this method
If you don’t want to heat your juice before fermenting it, this is an alternative brewing method to consider.
But remember!
Both brewing cider procedures should not be used.
Campden tablets are used to make sulfites. The sulfites are mild, and by the time the cider is ready to drink, they have been neutralized.
To minimize the intensity of the sulfites, you must let the juice sit for a bit after adding them.
Otherwise…
The sulfites may kill some yeast.
Step 5: Pour the juice into your fermenter.
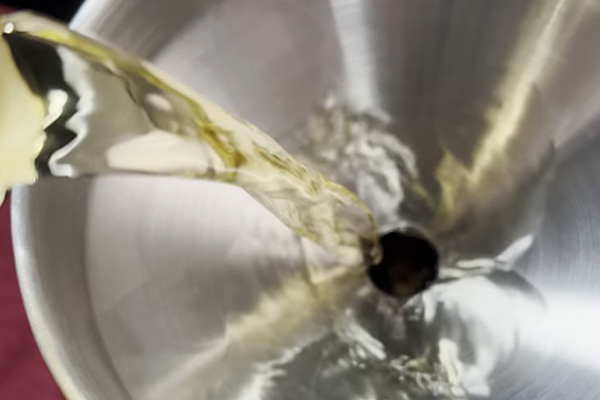
Pour the juice or cider immediately into the container where the hard apple cider will be fermented.
A professional-grade fermenter provides the smallest margin for error.
However…
For a less expensive option, use five 1-gallon jugs.
Crush the Campden tablets
Crush the tablets into fine dust using the back of a spoon.
Or…
Using a plate or other surface that is easy to wipe off the powder, crush the tablets.
Stir the Campden tablets into your juice
To combine, add the crushed Campden tablets to your juice or apple cider and gently stir with a spoon.
And then…
Dissolve them with a small bit of juice. After that, the residual batch is thoroughly blended into the new mixture.
Let sit for two days.
Before fermenting the apple cider, cover the fermenter and leave the sulfites to sit in the juice for a full two days.
The juice will ferment with the residues of the sulfites in it, and the sulfites in the water will not be removed.
Step 6: Fermentation
Fermentation is a natural process by which yeast and bacteria transform carbohydrates — such as flour and brown sugar — into alcohol or acids. Fermented foods have a particular zest and acidity due to the alcohol or acids acting as a natural preservative.
In a different context, it could be defined as…
…a metabolic process in which enzymes cause chemical changes in organic substrates. A restricted definition of this process in biochemistry is the extraction of energy from carbohydrates in the absence of oxygen.
Heat the water to a boiling.
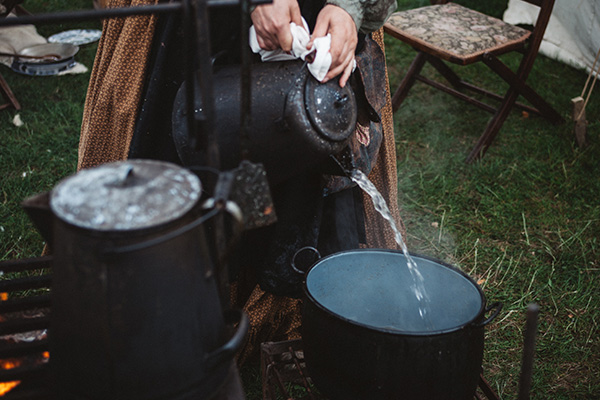
In a small pot, bring the water to a boil in medium-high heat. Turn the heat off once the water boils.
You only need to boil the water if you plan on using yeast nutrients, and you only need to use a yeast nutrient if you do not want to use a starter.
Don’t forget!
Because a starting and a yeast nutrient perform the same goal, you only need to utilize one.
Add the yeast nutrient.
The yeast nutrient should be stirred into the hot water until it dissolves. Allow the water to cool to a temperature of between 80 and 100 degrees Fahrenheit (27 and 38 degrees Celsius).
Take note:
After adding the yeast nutrient, it’s natural for the mixture to smell awful.
Add pectic enzyme
To clear cloudiness, pectic enzymes are utilized. Instead of yeast, combine the pectic enzyme and the starter shortly before adding the starting to the fermenter if using one.
Take a note of this!
Make sure the starter is at room temperature before using it.
If desired, whisk in the pectic enzyme once the liquid has reached room temperature.
Step 7: Combine mixture with brewed juice in the fermenter
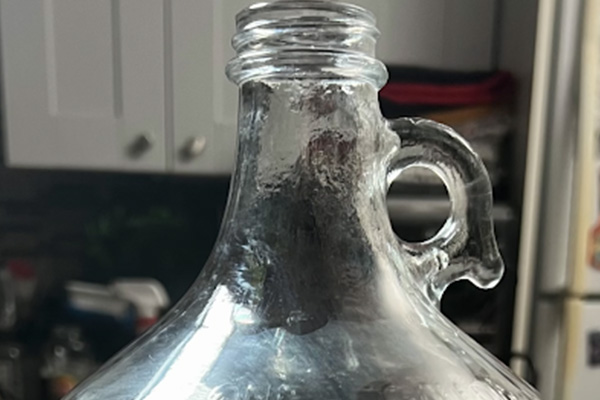
Add your liquid into the fermenter. Add the nutrient mixture or beginning to the apple juice and stir briefly to incorporate.
A professional-grade fermenter may be the best solution, but five 1-gallon (4-L) empty milk bottles are a less expensive option.
Here’s an advice:
At the top of the fermenter, make sure to leave at least 2 inches (5 cm) of headspace unfilled.
Add your sugar, if desired.
Adding sugar to the juice before fermentation will result in a cider with a higher alcohol concentration, but it is not required.
Moreover…
The longer a hard apple cider with sugar ages, the better it will get.
Add your yeast
Any residual yeast should be gently stirred into the cider.
We’re almost done!
Step 8: Cover the fermenter and attach an airlock
As the cider curdles, vapors will accumulate inside the jar, but a plastic airlock will allow these gasses to flow while securing off the inside.
Insert the airlock or your rubber stopper into the fermenter’s top.
The airlock can be as cheap as a balloon with holes in it, or you can buy the two-chamber airlock gear we used for less than a dollar at any brewing goods store.
Note this…
A piece of plastic wrap put over the top of the fermenter and secured with a rubber band could be used instead of an airlock.
This strategy isn’t as effective as the others, but it’s typically effective.
Step 9: Let sit for several weeks
Place the cider in an area with a temperature of 65 to 75 degrees Fahrenheit away from direct sunshine (18 and 24 degrees Celsius).
The cider should ferment during the next two weeks.
From this…
Through the airlock’s clear walls, expect to observe the activity.
Wait for another 3 to 5 days before bottling the cider if you no longer detect any movement in the airlock.
Step 10: Finishing and Bottling the Cider
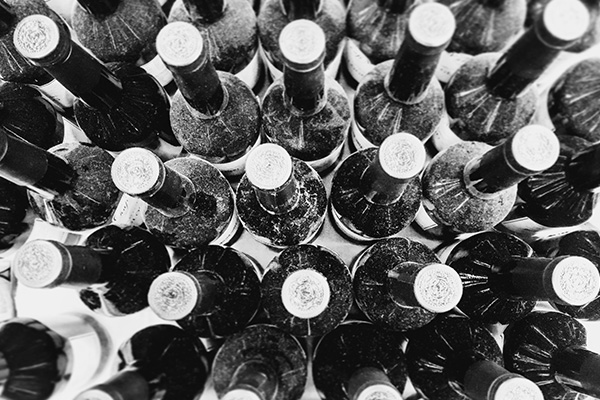
Because hard cider is fermented, it doesn’t need to be chilled once it’s been bottled or canned, but it will last longer if kept cold in a bottle cooler at around 40 degrees Fahrenheit.
Remember!
Allowing your cider to freeze will kill the yeast and change the flavor of your drink.
Also…
The flavor of most cider bottles and cans is unaffected by whether they are stored upright or on their sides.
Check the cider with a hydrometer.
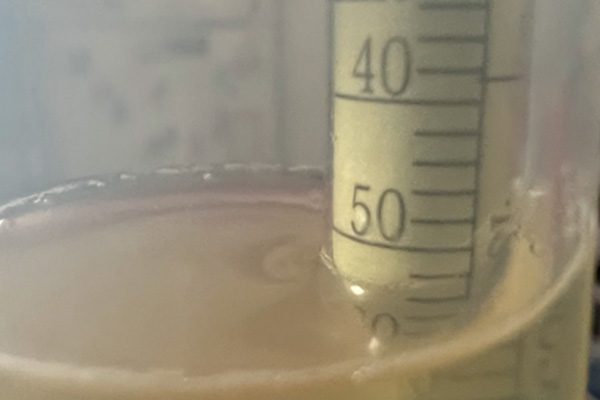
This isn’t required, but it’s the best way to ensure that the fermentation process is complete. The taste of the hard cider should be rather dry as well.
The specific gravity reading of an alcohol hydrometer in clean water should be 1.000. A sweet hard cider will normally have an OG of 1.040-1.055, depending on the combination of apples used.
Also, remember this…
The sweeter the juice or more sugar you add, the higher the specific gravity.
Bottle the cider now
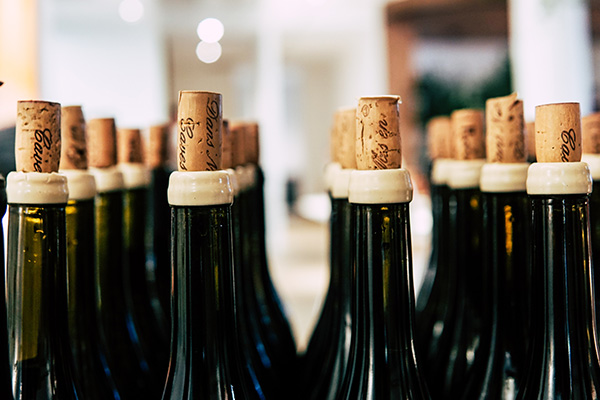
Your hard cider is set to bottle as quickly as the fermenting process is finished.
Install one by attaching a plastic stopper if the fermenter doesn’t have one. Toss the cider directly into clean, food-grade bottles by attaching food-grade tubing to this fixture.
Remember these three tips:
First,
Seal the jars.
Second,
Around two weeks, the cider should just be perfectly drinkable.
And, finally…
Wait over several months if you want it to be bubbly and sparkling.
Alternatively, let the cider clarify.
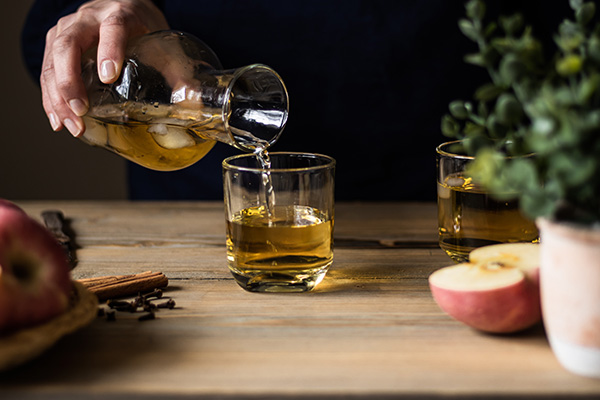
If you only use one fermenter, your cider will taste excellent but may not be completely clear because some suspended yeast will likely remain. You can clear a hazy hard cider by running it through a second fermenter before bottling it.
Siphon the cider into a second fermenter using a stopper and food-grade tubing.
To make it less cloudy…
Fill a secondary fermenter halfway with your cider (another food-grade bucket). Before you fill this bottling bucket with cider, make sure it’s clean.
Allow one additional month for the cider to ferment in this container.
As explained above, bottle the clarified cider using the same process to bottle hard cider right away.
Clarified cider, on the other hand, will have no bubbles.
After you’ve siphoned your cider into the secondary fermenter, cover it with a sterilized lid and airlock and store it somewhere dark and cool.
For the cider to clear, a month should suffice. After it’s been matured for as long as you can stand it, bottle it the same way you did before. There will be no bubbles in this cider, and thus it will be “still.”
And then!
You may now store your homemade hard cider!
Consider maturing and aging hard cider for a minimum of one month, but keep in mind 3 to 6 months can improve the flavor of your own cider at home, especially those with greater ABV content.
Conclusion: How To Make Hard Cider
Cider, limoncello, and flavored vodkas are easy to create at home for adults. A straightforward procedure, brewing cider from nonalcoholic or “sweet” cider produces an inebriating final product that is both delectable and confusing.
Here’s how it works:
Hard cider is an increasingly popular alcoholic beverage that is a fantastic alternative to beer or for people following a gluten-free diet. This drink can be enjoyed all year as a seasonal fall or winter alcoholic beverage or as a refreshing spring or summer refreshment.
Like wine, the quality of your fruit impacts the quality of your finished product. However, it is frequently unavailable or cost-effective, which is absolutely acceptable; you can still make a fantastic cocktail!
To sum up…
It’s flavorful and festive, excellent for the fall and winter months. The best thing is that you were the one who created it!
So…
This is the time for you to learn how to make hard cider!


