Beer is fantastic.
That’s something we can all agree on, right?
(As demonstrated by the fact that you’re reading this).
While popping open a can or glass of ice-cold beer is always enjoyable, absolutely nothing beats a cold glass pint of your favorite beer on tap.
With this…
The most basic short-term approach for dispensing draft beer is through a keg tap or keg pump. A basic keg pump draws beer to the faucet by hand, pumping air or oxygen into the keg. Because oxygen does not preserve beer, CO2 hand pumps are only advised for one-day events.
Otherwise, the beer will go flat and degrade within 12-24 hours.
Can’t have that.
To chill your beer when dispensing with a keg pump, you must pack the keg with ice; heated beer will pour frothy as you know.
There are also CO2 beer taps that use cartridges or a pressurized tank and regulator. These don’t require hand pumping and mean your beer will stay fresher longer, provided it’s stored correctly.
Apart from that…
A beer tap is a valve, more precisely a tap, that regulates beer flow. While other taps are referred to as faucets, outlets, or fixtures, a beer tap is nearly always used for beers. This could be because the term was first coined to describe the wooden valve seen in traditional barrels.
Furthermore…
The beer poured from a tap is frequently referred to as draught beer. However, beer poured from a cask is more commonly called cask ale, and beer served from a beer keg may be referred to as keg beer. Similar drinks, such as cider or long drinks, can also be served through beer taps.
Beers or keg taps come in a variety of shapes and sizes. An at-home beer tap is a great accompaniment to your night in, if you can’t live without a pint but don’t want to go to the pub.
A soothing and enjoyable activity is hanging out for a pint of beer with your significant other or a group of pals.
And what if you could bring the beer tap right into your living room?
Installing a beer system at home is not as difficult as it may appear, and it may be your next fun home project. A refrigerator, a CO2 canister, a beer tap, and a beer keg are the four basic components of a draft beer system. Continue reading if you’re up for the task.
After years of experience, we’re glad to give you;
- The Step-by-step How-to Instructions on how to install your beer tap;
- Some tips you can take note of;
- And a lot more!
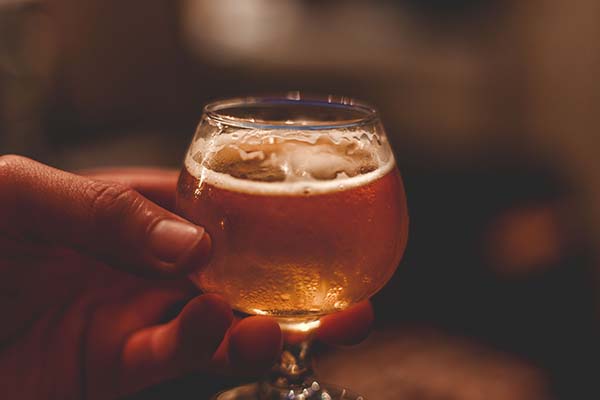
You’re probably asking this question. What are the benefits of adding a tap to your home bar?
If you already have a home bar, you might be asking why it’s so crucial to upgrade your tap. This is a simple question to respond to. In the eyes of true beer connoisseurs, the draft beer system will always win out over bottled beer. And having your own beer tap system to produce this level of excellence will complement the whole cocktail system you already have in place.
Obviously…
You could simply pay a professional to install a beer tap system in your home bar, which may be the best option if you are truly uneasy with tools. Or, you could buy an existing home keg solution.
Kegco K309B-2 Kegerator
- Removable and easy-to-clean built-in drip tray
- Chrome guard rail that helps prevent your mugs from sliding off.
- Easy rolling casters.
- Digital temperature display with push button controls.
- Stainless steel interior floor mat evenly distributes the weight of your kegs.
DIY, on the other hand, is less expensive.
It’s time to establish your beer dispenser and begin pouring fresh, ice-cold beer once you’ve debated and chosen the ideal kegs for your business! We’ve got step-by-step instructions to walk you through the procedure so you can pour the ideal pint of beer in your man cave. Use these procedures as a basic guideline, but always check your equipment manual for specific instructions from the manufacturer.
Step 1: Choose A Space

When you’re launching a new enterprise, you should first think about finding a location for your delicious draft beer. Make sure you have enough room for your tap. You can install a home beer tap behind a wall or at a bar.
Nevertheless…
When considering adding a tap to your home bar layout, the first step is to visualize where all the components will go, followed by a sketch or visual picture of how everything will come together in the end. You’ll need to think about all of the essential aspects of a beer tap system when drawing this visual image or sketch. Ensure you have enough space to install a beer tap to keep your beer cold.
Whatever space you have…
For the keg measurements, you’ll need to plan ahead. Get the right size keg from a beer distributor or a local store that sells kegs. Kegs come in a variety of sizes. Make sure to measure one which you think you’ll use frequently.
As an example…
You don’t want to plan for a tiny keg only to discover that you can’t accommodate a larger keg in the same location. You might also want to pick a location that will stay somewhat clean and is easy to pour in.
Step 2: Layout the beer lines and CO2 canister
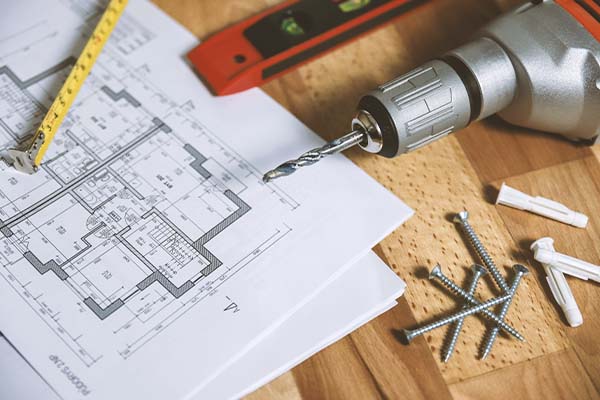
After you’ve decided on a location, draw a map of the area. Arrange the beer lines and carbon dioxide canister on the table. The canister does not need to be kept in the refrigerator. You must run a beer line from the CO2 canister to the keg. Also, run another beer line from the keg to the beer tap.
Once you’ve figured out how everything is going to work…
…double-check that you have everything you’ll need to get started: regulators, lines, and couplers. To run the lines in and out of the refrigerator, you’ll need to drill two holes in the wall. Gather all of your equipment and tap and set it out in the order you want it to be connected.
Step 3: Drilling

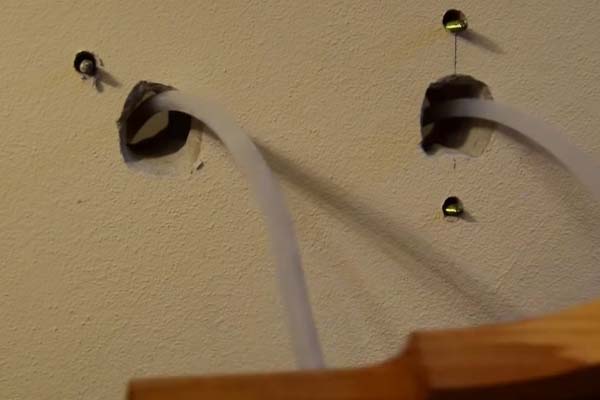
Insert the beer lines through two holes drilled into the refrigerator in the next stage. Make sure the hole is large enough for the plastic tubing to fit through without kinking. After that, thread the tubes through the gaskets that you’ve inserted into the refrigerator holes.
Tip:
Drill a hole the same size as your tube using the larger drill bit.
Step 4: Drill a hole for the beer tap
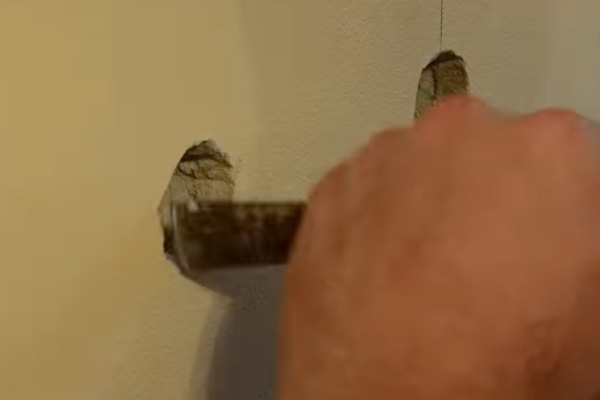
You’ll need to drill a hole for the beer tap after you’ve finished drilling the refrigerator holes. Consider where you want your beer tap to go and ensure the drill bit you’re using matches the tap’s size. Connect a hole bit to your drill and determine the measurements of your beer tap.
Next…
Make a hole in the hole with the drill bit and screw on the beer tap. Put a fastening nut to the bottom to ensure that the tap stays in position. Assemble the tap for the beer. Slide the beer tap through the tap hole by the shank. From the bottom, tighten the retaining nut.
Apart from that…
Choose a location for your beer tower. At least 7 inches should be left between the center of the tower and the back and front of the counter.
After that, open the fridge and look for coolant lines in the ceiling. It’s vital not to drill into them, or it will ruin your fridge. (They run up from a compressor shelf in the rear of most dorm fridges and into a metal sheet making a freezer chamber.)
Step 5: Connection
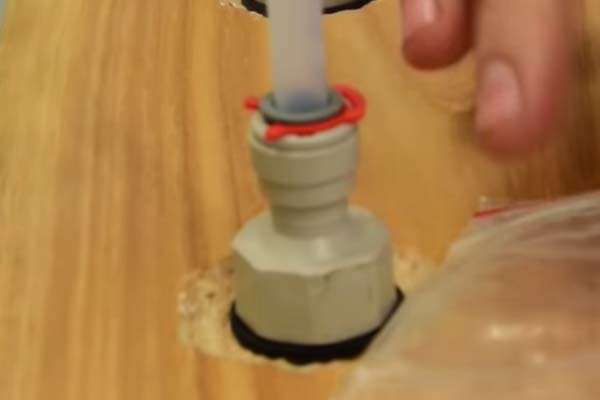
The next step is to connect the CO2 tank to the regulator and the CO2 hose to the keg. This is screwed into the top threads. Connect the keg’s CO2 hose to the keg. Use a clamp to keep it in place. If you don’t want it to come undone, fasten it with a good clamp.
Also…
All you have to do now is connect the CO2 tank to the keg and tap with plastic tubing. When making these necessary connections in your draft beer system, there are a few things to bear in mind. First, use dark-colored tubing to link gas lines and clear or translucent tubing to connect beer lines.
Step 6: Connect the coupler to the top of the keg
After that, you’ll need to attach the keg coupler to the keg’s top. The CO2 line will link to the coupler’s CO2 side, while the beer line hose will connect to the coupler’s other side. To secure the keg coupler, insert it into the keg hole and turn it one-quarter. Connect the CO2 connection to the coupler’s CO2 side.
Furthermore…
Connect the hose from the beer line to the keg coupler on another side. Using a clamp, secure both hoses. For maximum safety, both of these connections are secure using clamps.
Keg couplers should not be left uncoupled from kegs as this increases the risk of the gas bottle being discharged.
Step 7: Run the hose from the refrigerator to the underside of the tap
Connect the hose from the refrigerator to the tap’s underside. Using a hose clamp, secure the hose.
Step 8 Final: Open the CO2 canister.
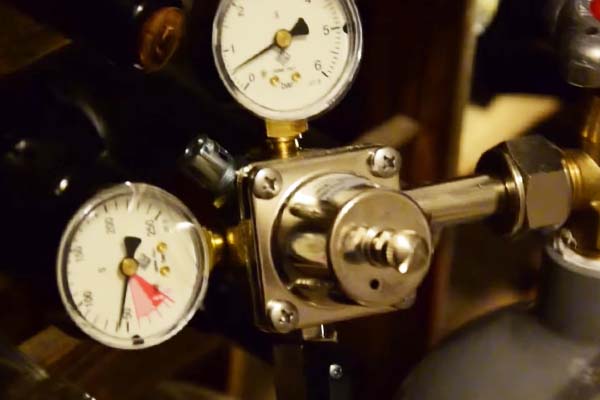
As to the final step, remove the CO2 canister and open it. You may adjust the pressure as desired by opening the beer tap and pouring a few “test” pours. Depending on your preferences for head and foam, the amount of pressure required varies.
Our Wrap on Home Beer Tap Installation Instructions
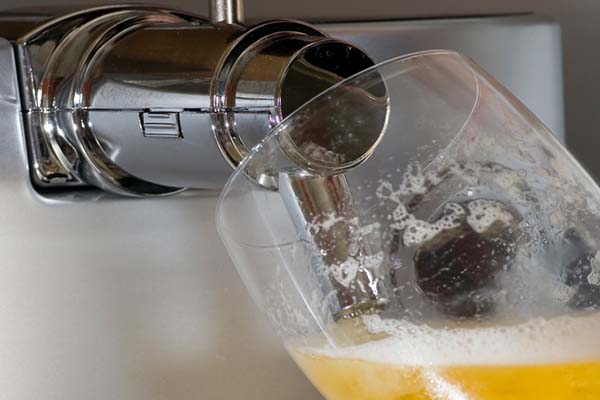
Building a home bar with a beer tap does not necessitate any particular equipment beyond what you probably already have in your home. Examples are a spanner wrench, a cutter, a screwdriver, and other tools.
Just a friendly reminder…
You can’t just set it and forget it once you’ve built and set your draft beer system. It should be cleaned and maintained regularly, ideally every two weeks or whenever the keg is changed. Bacteria, mold, and yeast can develop on all the components that draft beer comes into contact with. Your beer lines, draft faucets, and keg couplers, in particular. This bacteria can cause your beer to have off smells and aromas and cause it to pour frothy.
You can either buy a fridge that is beer dispensing ready or retrofit an old one to meet your demands. Many companies are offering a conversion kit to assist you if you’re upgrading.
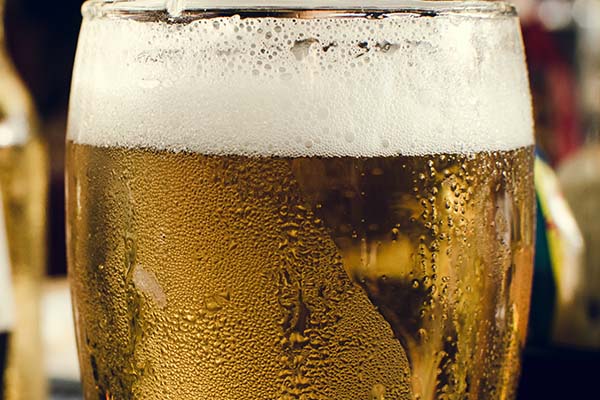
Is there anything better in the perspective of a craft beer enthusiast than fresh draft beer at home?
Let’s face it:
The dishwasher will never pour a perfectly drawn glass of craft beer into your favorite glass—just it’s not going to happen. And, while a refrigerator with buckling shelves is always dangerously attractive, you can’t argue with the convenience of having draft beer within reach at all times.
Serving kegs commercially or homebrewed beer from the comfort of your own home seems ideal. On the other hand, a kegerator is like a puppy: you’ll have to feed it, walk it, and bathe it.
When should you buy a Beer Tap System?
This beer tap system is better suited for bigger pubs and bars with high customer traffic. If your bar’s goal is to be high-end, this tap system is an excellent choice. A 12-tap system will give your place a premium feel.
Also…
If you enjoy entertaining a large group of friends, this is a must-have item.
Lastly…
Pull the tap handle on your favorite glass and pour yourself a big, cold one. You got it.
Product Advertising API - Last Updated on 2025-07-12. DISCLAIMER: Some or all of the product links on this page are affiliate links. The operator of this website received a small commission if you purchase products through these links, HOWEVER, there is no added cost to you. These commissions help to fund the operation of this BDMetrics.com


